Showing posts with label Fabric. Show all posts

Saturday, 27 December 2014

Graphics Texture Photography

Carrying on from my work with fabrics to make a bunch of textures. Taking all these over to the photography area. I set up a single light and used a white photography table set up to give a clear background. However I wasn't to fussed about the background in these shots as my goal was to get in really close and take some super close up marco shots of these fabric piece.


Above are all 60 shots I ended up taking, if you look closely you'll see the first few shots were over exposed. After a few tweaking in manual I ended up changing the iso and got the right lighting I wanted for these texture shots. This was mainly down to using a preset camera in college and not my own but overall these first shots will still be used somewhere in my work for textures in photoshop. So I've kept them either way.


Possibly my favorite shot as of the amount of depth and detail captured.


The 4 above shots are just some of my favorite ones that I ended up taking from this exercise. I really love the amount of depth that is visible after getting in nice and tight with a macro lens. These will work really well in photoshop for adding some nice textures to different works.  
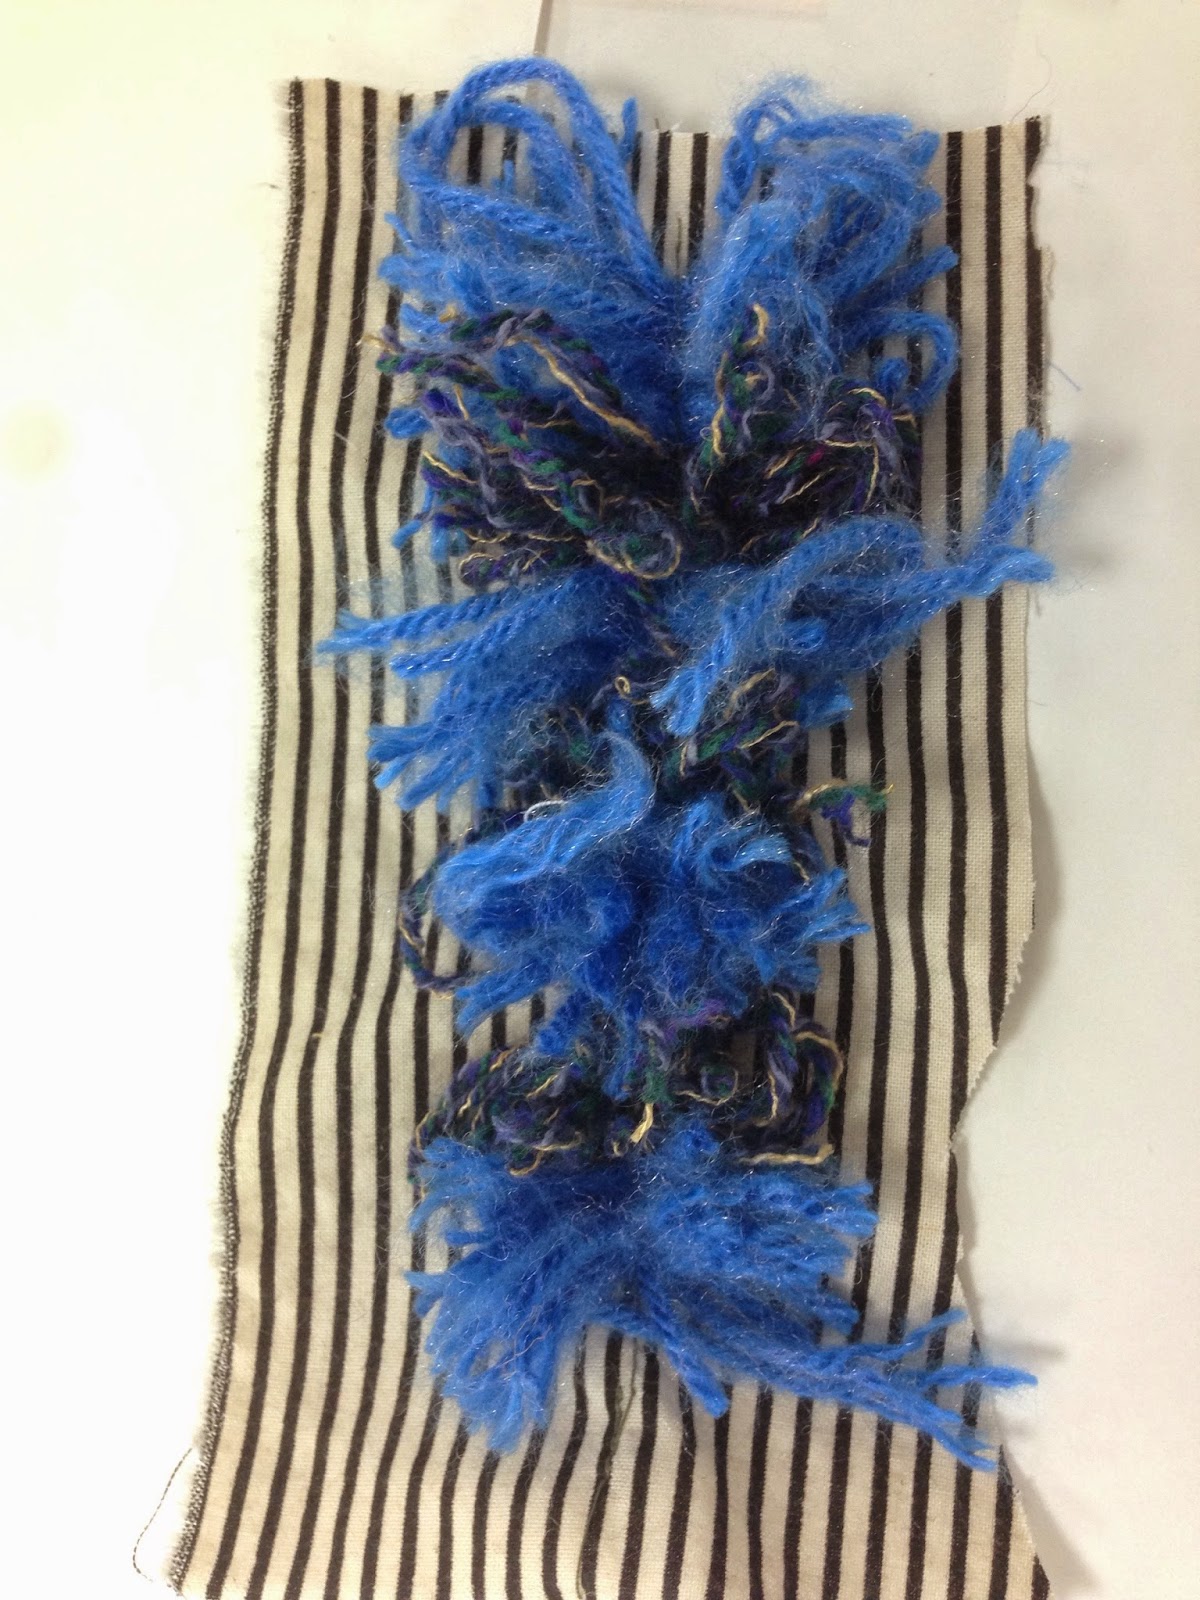
After ever 3 or 4th shot I ended up changing the position and intensity of the light to try and give different shadows in the shots. I feel this is most seen in my final shot. Having the light coming in from the left making the centre of the pom pom look extra dark. Coupling that with the depth of field with the back pom pom makes this shot really interesting to look at I feel. It'll also work well as a textural piece for something with a lot of focus needed on the right side of the image. 
Overall I found this a very useful exercise and typically I just tend to use free textures or use digitally generated ones for my piece. However having some real shot textures will come in handy I feel.

Sunday, 7 December 2014

Graphics: Making Textures From Fabric

Following my work in Illustrator and using Textures found on the Internet. The next thing that I did was to go into the fashion studios and steal all their fabrics to create a bunch of different textures using a bunch of techniques I learnt in my pathway stage such as Weaving and different ones such as making fake furs and wrapping yarns around cardboard.


Wrapping fabrics around card.


Layering of Fabrics and crisscross patterns.


Making of PomPoms                                                          Fake Fur sewn onto fabric


Weaving.

All of these will make for some interesting textures once captured with a camera. The close up shots then edited in photoshop will turn out really nicely I feel.
These first few textures focused very much of soft and loose styles, next I moved onto using heat over fabric to make more shiny and raw textures.


Using a soldering iron I cut around a star shaped biscuit cutter to cut through layered fabrics to make shapes.

Using Shibori techniques I elastic banded pasta and coins into man made materials and then used a head gun to form the fabrics around such shapes to give off this effect.


I used the same Shibori techniques on plastic as well to see what sort of effects could be had. As well as using a heat gun to make lines into the plastic to cause different effects.


Lastly combining the Shibori with the Soldering iron to add even more detail and texture into these piece.

 Once these textural piece are photographed and converted they'll turn into a very useful set of digital textures and photographs.

Thursday, 9 October 2014

Fashion Weaving

Carrying on from my work with printed images and manipulating them. My next task was to experiment with weaving. Which i had a little experiment with earlier in this fashion pathway as with my first work in Paper manipulation I created a twisted weave piece as well as in my printed image work i also used overlapping strips to form simple weaves. However this time I'd be using different materials such as fabrics and cloth to create different weaved patterns!


First I made this very simple weave by just cutting into a piece of dark fabric and then weaving into the base with a lighter fabric. Alternating the first point of entry (top or bottom) to give the full weave an effect of depth and not just the same pattern on either side. This was nothing special but more an expertise in its self to let my mind and hands get used to the method.
Next up I got some card and string and created a backboard for a much larger weave. Cutting equal length notches into the card and then wrapping the string around to create a basic grid to be woven into.


Once the string was tight enough I went to work cutting strips of woollen fabrics and cloth of equal length. Once I had 3 of each type (One cream fabric, one white wool, one grey and one pattern dark fabric) I went to work weaving in the same method as before starting one under and one over, but this time also alternating the colour of fabric so it had a light/dark/light/dark pattern. Making sure to keep pulling the strip downwards to keep the weave tight I did this till completion as seen above. The next step would have been to cut the string on the back of the card and tie up the loose ends of fabric but I thought it would look best in my sketch book still on card to show how i created the piece so I left it intact. I really like the way this turned out with the alternating colour. If i was to try it again I'd want to use just patterned fabrics to try and create a design running down the piece in one way or another.


Lastly I created this shag rug sort of piece in which I cut very small pieces of fabrics of 3 different light colours and one dark and threaded them through this rubber mat stopper material [which as seen below] is just a square gauze. Its work very well for this piece as cut perfectly I took 2 piece of white fabric and alternated pulling them through the mat material and once all the way around once. Came in 1 notch and did the same but this time with the other white and black fabric. I did this 4 times till I finished / reached the centre.
I really like the way this came out even if it was very time consuming, I'd love to see what a full sized mat or rug would look like. This one was only about the size of both my hands. The closer i got to the middle the hard it was to thread the fabric through the holds since the lack of space and fabric being everywhere making ti harder to see. But after a lot of fiddling it was complete.
I feel this is a very Victorian sort of piece and using different coloured materials you could come up with a plethora of designs and patterns.